What selfie mode is and how to open it
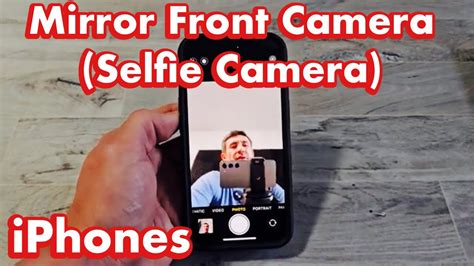
Selfie mode is the iPhone’s name for the front-facing camera inside the standard Camera app, not a separate app or a hidden setting. Tapping the flip icon switches the live view from the rear lens to the front one, and everything else, Photo mode, Portrait mode, the timer, works the same way it does on the rear camera.
On iPhone 16, iPhone 16 Plus, iPhone 16 Pro, and iPhone 16 Pro Max, Camera Control gives a second path in. Per Apple’s Camera Control documentation, lightly pressing the button twice opens a settings overlay; sliding a finger across it until Cameras appears and pressing again switches to the front-facing option. The same overlay carries Exposure, Depth, Zoom, Styles, and Tone, and selecting Depth turns on Portrait mode automatically if it wasn’t already active.
What changed with Center Stage and Camera Control

Two hardware-tied features matter here that most guides don’t cover. According to Apple’s own selfie guide, Center Stage on iPhone 17, iPhone 17 Pro, iPhone 17 Pro Max, and iPhone Air automatically zooms and rotates the frame when it detects faces near the edge, and works best when everyone stays within about 10 feet of the camera. Camera Control, present since the iPhone 16 lineup, gives a no-touchscreen path to the front camera through the gesture above.
A third change is easy to miss. The small circular icon with two arrows at the bottom of the viewfinder, meant to widen or narrow the field of view, also changes selfie resolution. As iDownloadBlog documented, leaving that toggle on the wider setting can silently cap a photo at 7 megapixels instead of the front camera’s full 12.
| Feature | Models | How to enable |
|---|---|---|
| Center Stage Auto Zoom / Auto Rotate | iPhone 17, 17 Pro, 17 Pro Max, iPhone Air | On by default in Photo mode selfies; toggle in the camera options menu |
| Camera Control selfie gesture | iPhone 16, 16 Plus, 16 Pro, 16 Pro Max and later models with the button | Double light-press, swipe to Cameras, lightly press to select the front camera |
| Portrait-mode selfie blur | iPhone X and later | Swipe to Portrait, tap the front-camera icon |
| Full-resolution (12MP) field of view | All current models with the toggle | Tap the two-arrow icon to the narrower framing before shooting |
If a recent selfie looks softer than expected, that field-of-view icon is worth checking before blaming the lens itself.
Why is my selfie only 7 megapixels instead of 12?The front camera’s field-of-view toggle, the circular icon with two arrows at the bottom of the frame, changes resolution along with framing. The narrower setting captures the full 12MP; the wider one caps it at 7MP.
Getting the technique right

Exposure
Good framing starts with facing a broad, even light source rather than a small point source, and keeping the background simple enough that it doesn’t compete with your face. Beyond that, tap to set focus, then drag the vertical slider next to the focus box up or down to brighten or darken the shot; on Camera Control models, lightly press twice, swipe to Exposure, then slide to adjust. Per documented testing of the feature, the adjustment runs on a −2 to +2 EV compensation scale, supported from the iPhone 11 generation onward, and it persists for the rest of a Camera session unless Preserve Settings is turned on for it.
Why does my selfie look washed out compared to what I saw in the viewfinder?The front camera automatically balances exposure across detected faces, which tends to brighten skin against bright backgrounds. Dragging the exposure slider down a notch or two before shooting corrects this without editing afterward.
Portrait-mode blur
Portrait mode on the front camera requires iPhone X or later. Swipe to Portrait, switch to the front camera, and the phone blurs the background once it detects a face at the right distance. Blur strength can be adjusted afterward from the Edit screen.
Do I need Portrait mode for a good selfie?No. Portrait mode blurs the background, which suits close, single-subject shots. Photo mode keeps everything in focus, which works better for group selfies or shots where the background matters.
Common selfie mistakes
| Mistake | Why it happens | Fix |
|---|---|---|
| Selfie capped at 7MP | Field-of-view toggle left on the wider setting | Tap the two-arrow icon to the narrower framing before shooting |
| Face washed out against a bright background | Automatic exposure balances across the whole frame, not just the face | Drag the exposure slider down before shooting |
| Distorted features at close range | Wide-angle front lens exaggerates features close to the camera | Hold the phone slightly farther away, or use the rear camera at a distance |
| Blurry group shots | Center Stage keeps adjusting the frame as people move in and out of the 10-foot range | Hold still for a beat after the frame settles, or turn off Auto Rotate for a fixed group |
| Soft or hazy images with no obvious cause | Front lens is small and picks up smudges easily | Wipe the lens before shooting |
Taking a selfie with the rear camera
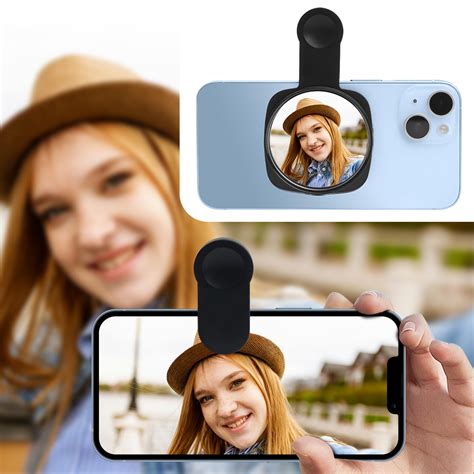
No accessory or app is required to use the rear camera for a selfie, only a willingness to frame the shot without seeing yourself. The rear camera’s larger sensor produces sharper images than the front one. Estimate distance and angle, use a volume button as the shutter so the screen doesn’t need to be touched, and take two or three shots per pose since focus can’t be checked in real time. A self-timer removes the guesswork on holding position, at the cost of losing spontaneity.
Can I take a selfie with the iPhone’s rear camera?Yes. Switch to the rear camera, estimate framing, and use a volume button or the timer as the shutter. The live preview is lost, but the rear camera’s higher image quality is gained.
Group selfies

Center Stage’s roughly 10-foot guideline, per Apple’s documentation, describes how many people the frame can keep sharp at once: everyone should stay within that distance and look toward the camera for the auto-zoom and auto-rotate behavior to work as intended, and the margin for error shrinks as the group grows.